Table of Content
Learn how to build a classic wood bar top, install a beer tap and more. Bar carts have become especially popular among homeowners who favor chic decor. Practical, portable, and eminently stylish, bar carts can function as a suitable substitute for a home bar. They provide a perfect platform for mixing drinks, and can also serve as an open invitation for your guests to walk up and make their own. Typically, the storage space is limited, either by necessity or due to the desired aesthetic.
You can paint your bar a bold color and choose bar stools that complement it. Or, you can use lighting fixtures to introduce a pop of color to your space. Of course, there are many different ways to bring a kitchen bar into your space. You could add a kitchen island, reimagine some of the countertops you already have, or spring for a full-blown renovation. But remember, as long as you have a couple places to sit—and room to eat or drink—you should have everything you need to make a kitchen bar happen.
Wooden Breakfast Bar
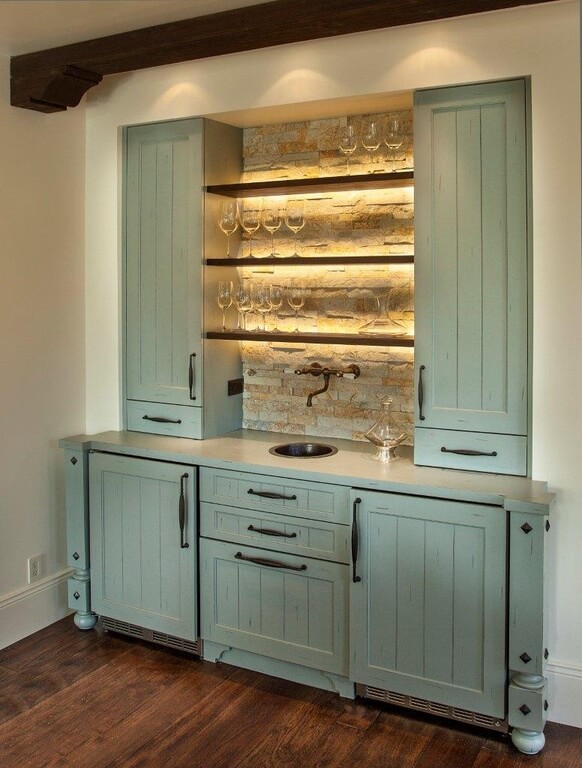
This rack also features additional storage space on the back of each door. Cocktail enthusiasts know an ever-expanding home bar collection is a wonderful thing. Storage for all those bottles, though, can tend to be an afterthought, according to Kate Boushel, director of beverage and education for Groupe Barroco in Montreal.
Wood bar tops are pretty easy to install, and you can even use wood cutting stations at hardware stores to build the top yourself. On the other hand, if you want to use marble, you’ll either have to have a lot of experience or work with a contractor on the installation. Whether your kitchen is modern or traditional, a simple bar made from oiled wood always looks great. Since a bartop isn’t subjected to the food prep work that a countertop is, you can use more exotic pieces of wood with pores and knots showing. Create extra storage real estate on the back of your cabinet doors. This idea from @thesimplewise shows how to use clear self-adhesive bins to hold things like dishwasher tablets, sponges or rolls of plastic wrap and foil.
Set the Oak Bar Top
But aside from style, John Solis found that steel has a ton of practical benefits. Every DIY bar builder we talked with told us that planning is tough. With so many dimensions and space considerations, using pencil and paper just doesn’t provide a clear preview of the final results. Scavenge some cardboard or pick up some foam insulation at a home center (less than $10 for a 4 x 8-ft. sheet). And a lot cheaper than making changes after the bar is built.” Jason built a bar a few years ago and now plans to upgrade by replacing the wood bar top with a concrete top.
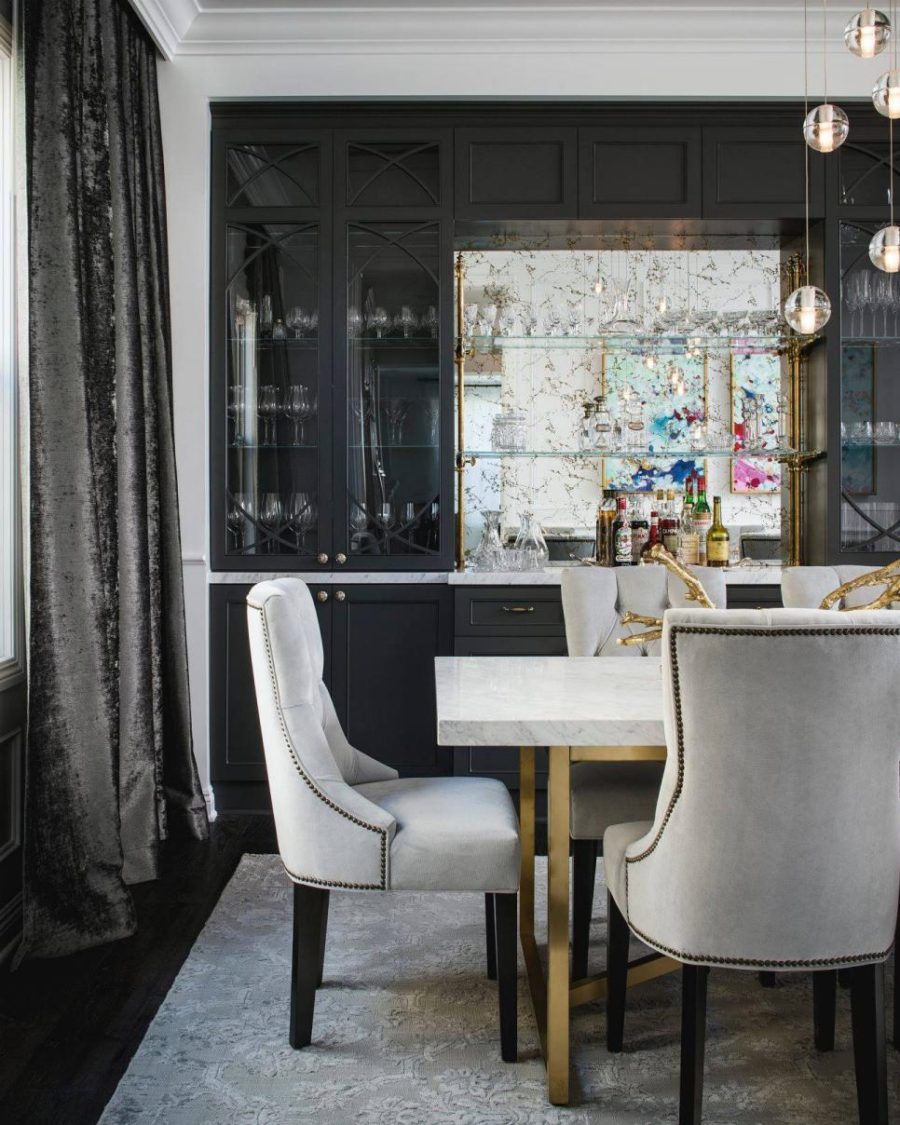
This keeps all your fancy glassware and drinks dust-free and everything you need for cocktail hour in one convenient spot. The pots and pans cabinet organizer seen in this TikTok by @malloryhudsonxo can be used vertically as shown here or horizontally. It keeps all your pans and lids readily accessible so you don’t have to rearrange stacks to grab what you need.
More Design Ideas
Customize your bar to look like one from your favorite movie, choose a theme, and make it retro or super modern and minimalistic – the sky is the limit. Paint the walls, add photos, decorations, neon lights, whatever you like. Therefore we advise you to put comfort in the priority section. You can pick any bar stools that you prefer esthetically, but it would be great if they are comfortable to sit in.
When choosing the cabinets, be sure to get ones that are sturdy and have plenty of storage space. Once you have your cabinets, it’s time to start stocking them with all the supplies you need for your home bar. This includes things like glassware, liquor, mixers, and bar tools. Be sure to also include some decorations to make your bar area more inviting. This could include things like bar stools, wall art, or even a small television.
Building Bar Height Cabinets
Maybe the column can run along the end of your bar, creating a suggested boundary in your space—one that makes your kitchen look even better. Lindsey Lanquist is a design expert for MyDomaine, covering the latest home trends and design tips. In addition to serving as former senior editor at StyleCaster and staff writer at Self, her work has appeared in Cosmopolitan, Byrdie, Verywell, SheKnows, Nylon, and more. Style-wise, there are numerous models you can use for inspiration, so go with what you like.

Get an electrician to install an electrical outlet on top of the top cabinet. If you are good with electric things, you may not require the services of the electrician. Choose the design best suited for your kitchen and give it finishing touches. If you purchased second hand cabinets, they will require a bit of refurnishing before putting them in your kitchen.
It is also possible to give your bar a more personal touch by installing a custom vanity or base cabinet box. Finally, you could also build a table-type breakfast bar and install it along one side of your island. That way, you could make the bar higher than the island, too. If your island has a long and flat enough side, you might be able to add a lightweight wood bartop to that side with stud supports. Kitchen islands have studs, but if your island has deep molding or a facade of another material, you won’t be able to secure the supports to the studs very easily.
When assembling the workpiece surfaces, make sure they are flush with the work surface. The cabinet doors are simple to work with – hardwood frames that are groove- and timbre-tenon jointed. Place the glue on the wall after it has been assembled and finished. After the case has been mounted, the doors should be attached and the shelves should be set.
Every six weeks or so, you have to spend 20 minutes flushing the system with a cleaning solution. Depending on the type of beer, it stays fresh for just a month or two. After that, you have to shed a tear and send the leftover beer down the drain. As a trim carpenter, Dean has lots of friends in the building trades and got lots of help with his barroom. So do some test fitting, fastening it with screws from below.
They meet a standard that is acceptable and will likely last 20+ years. In our experiment, we had the glass sitting on top of the finish 24/7. After you have your cabinets installed, you use a standard laminate countertop, some synthetic stone version, or actual stone. Most bar moldings fit over a bar top made from two layers of 3/4-in.-thick material.
Some bars come with built-in overhangs—the countertop extends beyond the bar, giving you a natural place to store a few seats. This can be a space-efficient solution if you’ve opted for backless stools, and it can also make eating at your bar much more comfortable. One popular move is to paint your bar a vibrant color, but you could take a slightly less expected approach and line it with bold tile instead. You could match the tile to your backsplash or pick a complementary set. Kitchen bars provide an opportunity to have fun with your décor.

MDF is more expensive than plywood because it has a higher grade and is more specific to wood species. The layers on the plywood edge make it difficult to finish, so they must be banded or carved with wood pieces or decorative mouldings to achieve an iron-on edge finish. Even at such high prices, high-end cabinetry is only for the wealthiest buyers. In this cabinet, the screws are attached to it through pockets in the top and bottom of the cabinet.


No comments:
Post a Comment